Quick Service Mountainbike
Having trust in the quality of your equipment is good, but it’s always best to be on the safe side and check important components at regular intervals even if your road bike is running perfectly. As the saying goes, ‘if it isn’t broken, don’t fix it.’ This applies especially to the brakes and shifting. If these are working perfectly, then don’t adjust anything. You should, however, regularly check the following components.
Quick Service Mountainbike Part 1
Stem bolts:
-
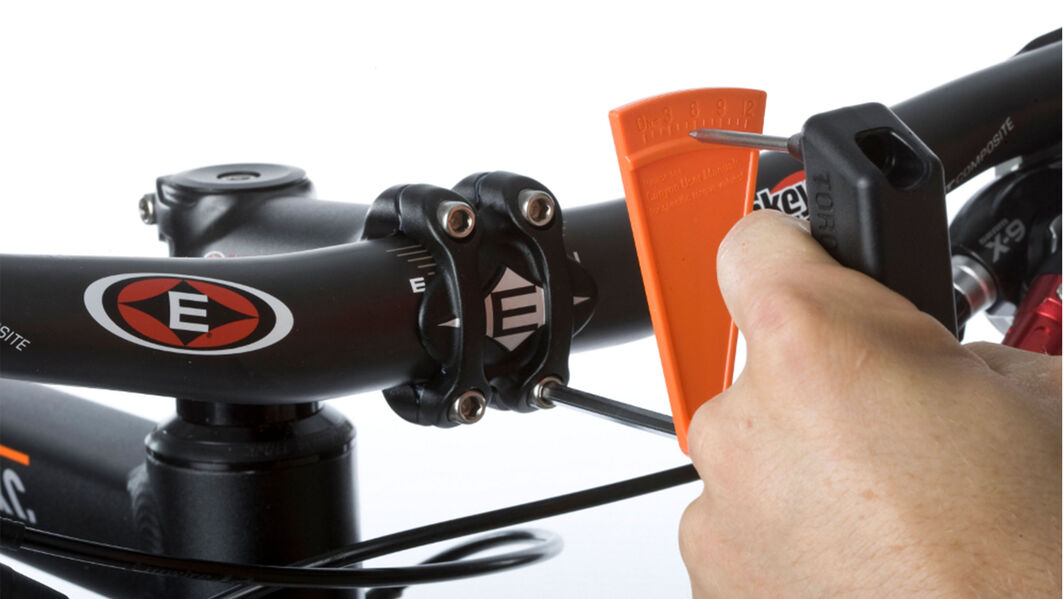
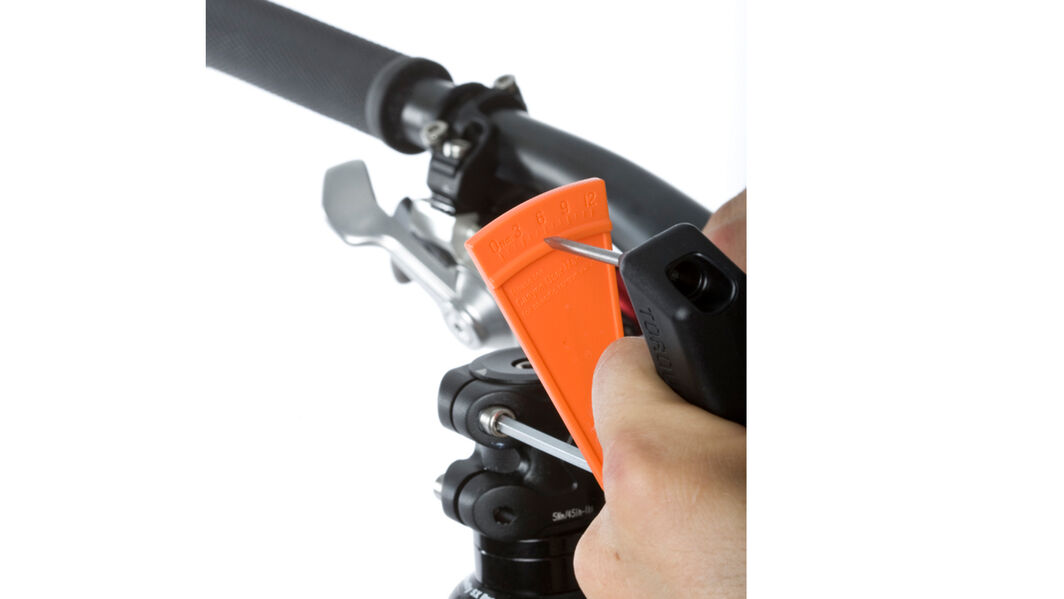
Use the Canyon Torque Wrench to check the torque of the front bolts Image 1 and the steerer tube bolts Image 2. The required torque is indicated on each component.
Crank arms:
-
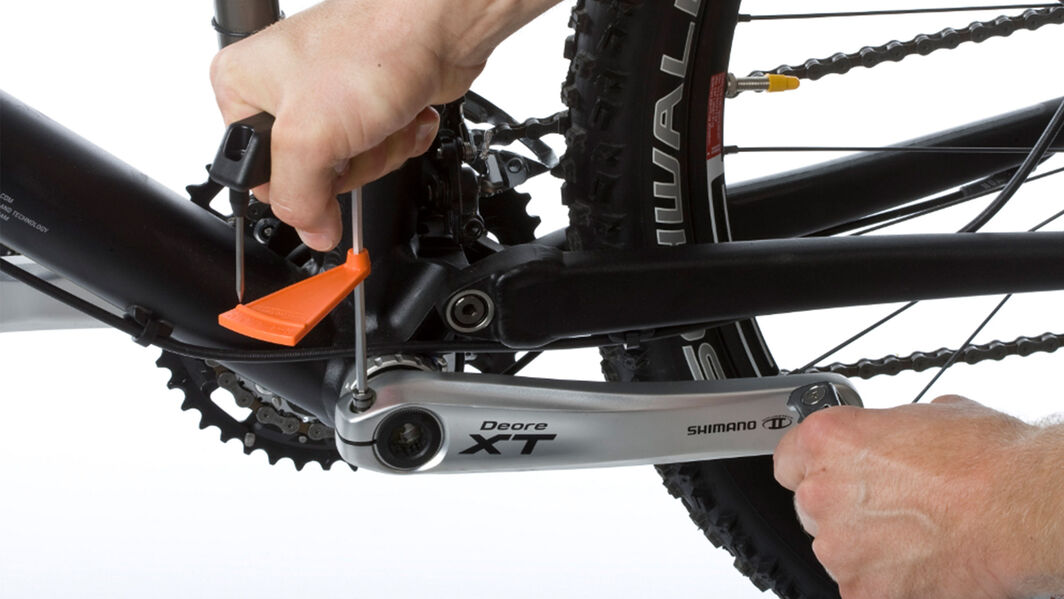
Check the crank arm bolts Image 3.
-
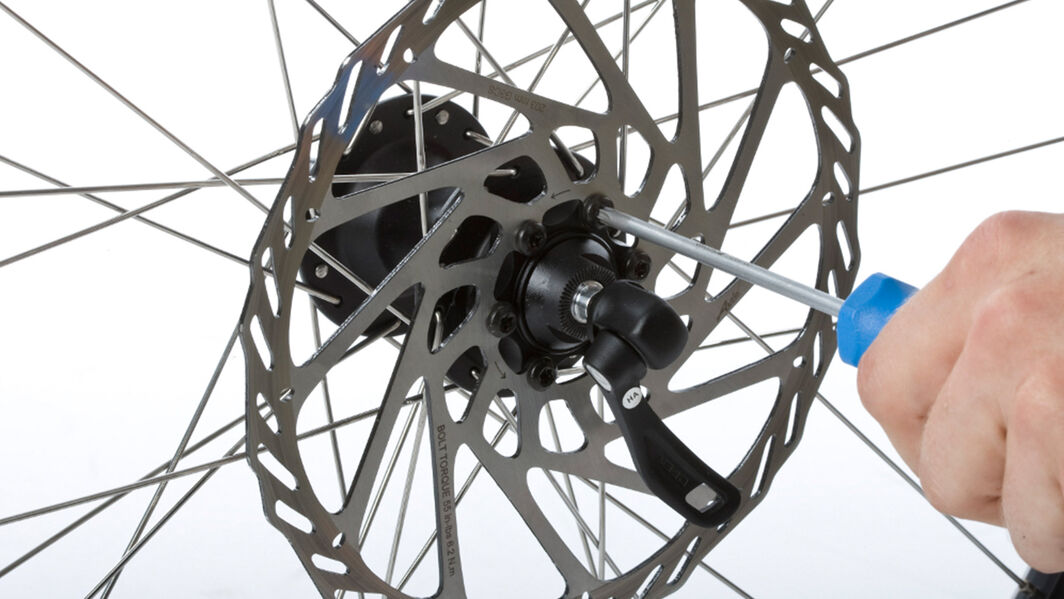
Disc brakes: Check if the rotor bolts are loose. Tighten them only if they have become loose. Image 4
Quick Service Mountainbike Part 2
A loose headset causes imprecise steering and banging noises.
This will show you how to check the function of your headset easily
-
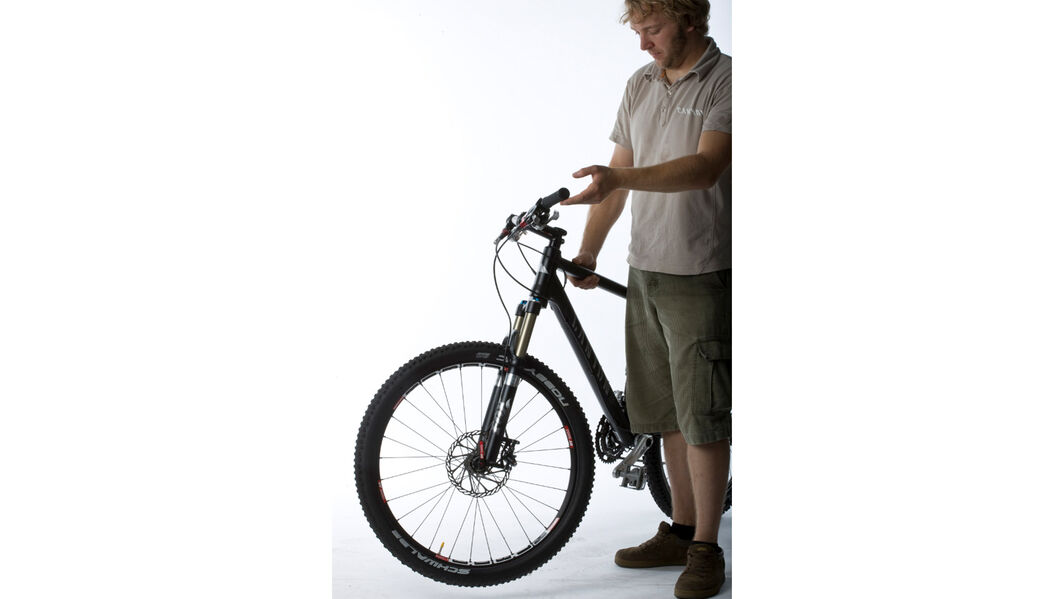
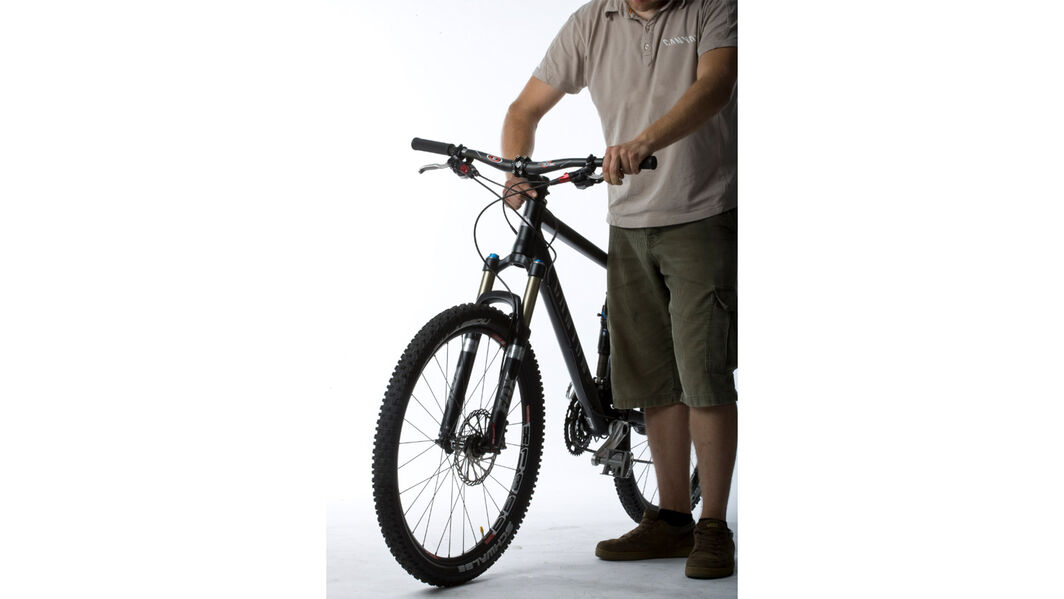
To check your headset is working, lift your bike by the top tube until the front wheel is hanging in the air. Now give the handlebar a gentle shove with your free hand as shown. Image 5 The front end of your bike must swing from side to side under its own weight. Now let the front wheel back down onto the ground. Press on the headset with your thumb and index finger and pull the front brake with your other hand. Now wiggle the bike back and forth and you will immediately feel any excess play in the headset. Image 6
This is how you adjust a loose headset:
-
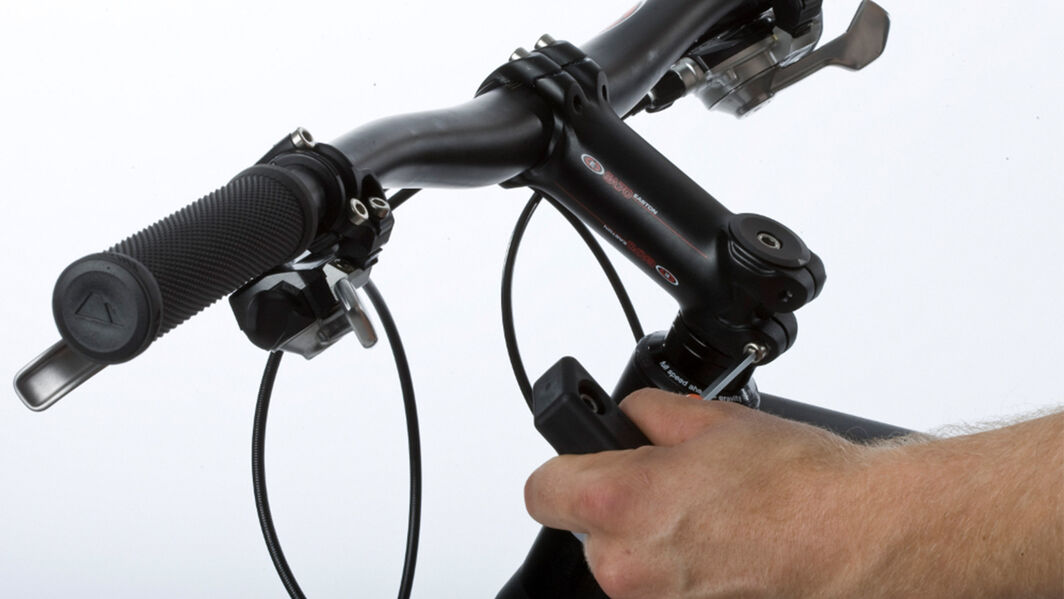
Undo the screws on the headset. Image 7
-
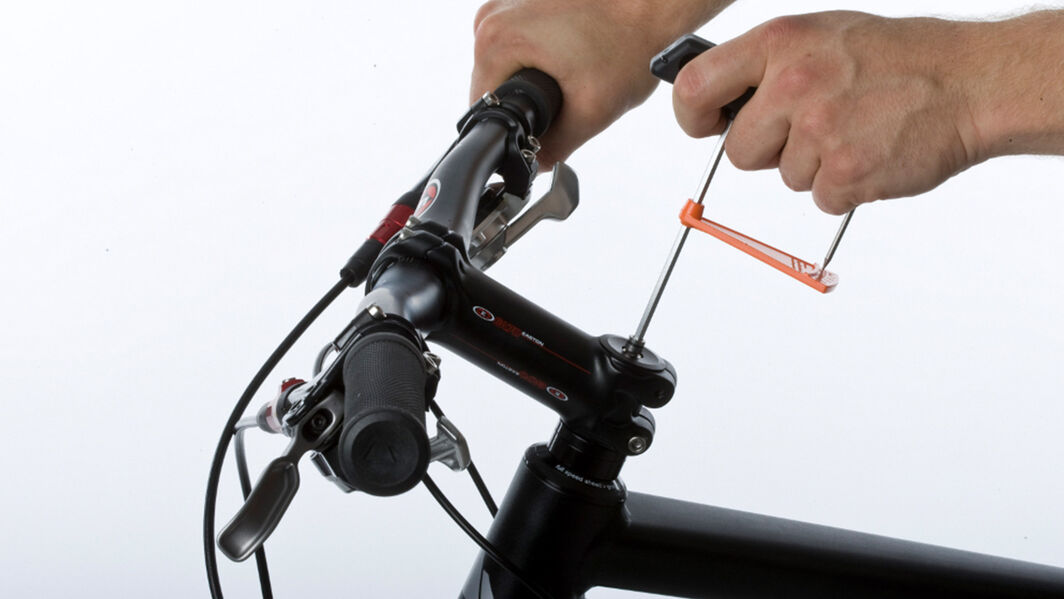
The headset is preloaded by the upper screw on the top cap. A quarter turn is often enough to adjust the play in the headset. Turn the screw left if the headset is too tight Image 8 Re-tighten the stem bolts. Always tighten to the correct torque.
You might need to repeat this process until the headset is correctly adjusted. Before you finally tighten the stem screw, the stem must be parallel to the top tube. But the front wheel between your legs and look in a straight line over stem and top tube.
Quick Service Mountainbike Part 3
-
Quick-release check. Check both the front and rear quick-releases. Tighten the quick-releases hand tight. The levers should point upwards when they are fully tight so that they don’t catch on things.
-
Check that the tyres are clean. There might be small bits stuck in the tyre waiting to cause a puncture. Remove these small bits from the tyre.
-
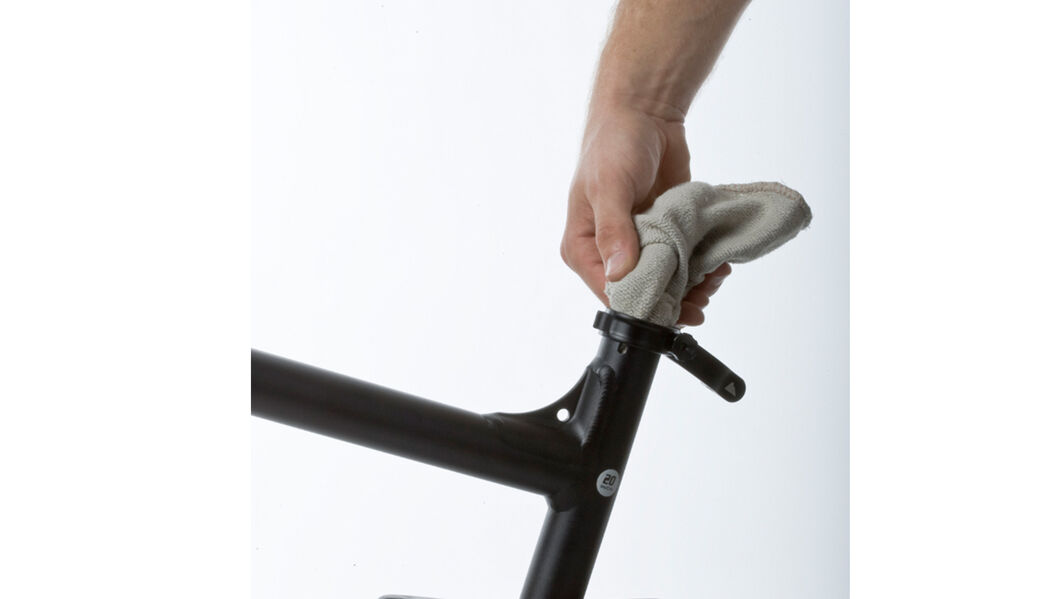
The needs fresh greasing from time to time so that it can slide easily inside the seat tube. However, it is important to clean both the seatpost and tube thoroughly first. First remove the seat post and wash the grease off with a cloth. Then clean the inside of the seat tube. Try to get down as far into the tube as you can with a cloth. Image 9 Now apply fresh grease paste to the seat post.
Attention: if the frame or seatpost are made of carbon, do not apply grease – use carbon assembly paste instead. Carbon parts must be free of oil and grease at all times.
-
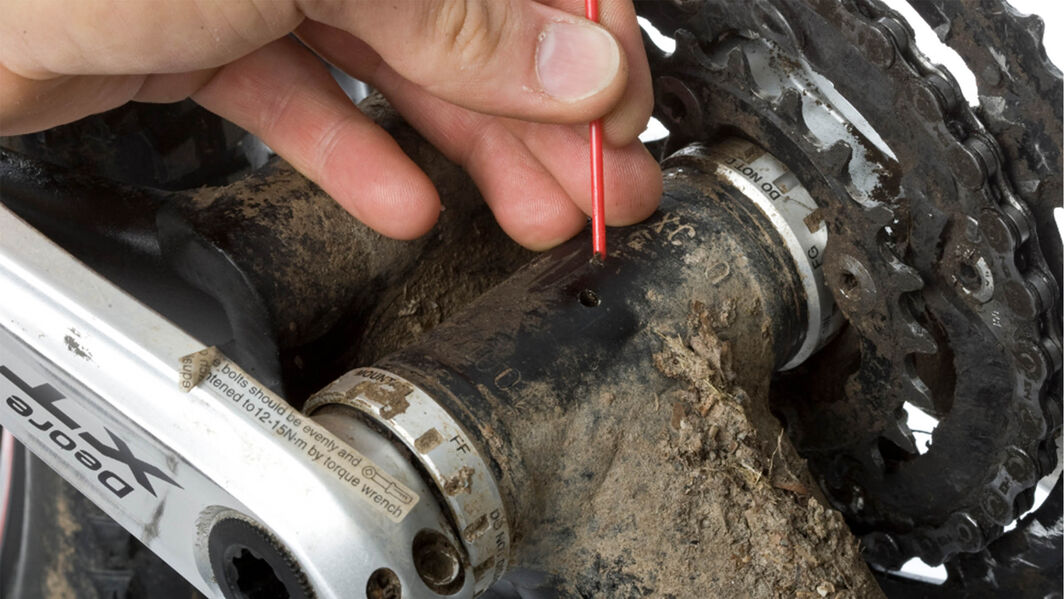
Check the drain hole under the bottom bracket. Image 10 This place is exposed to dirt. If it gets blocked, condensed water cannot leave the frame. Clean the hole if necessary. Use a long, pointed plastic object to do this. Metal objects could scratch the frame.
-
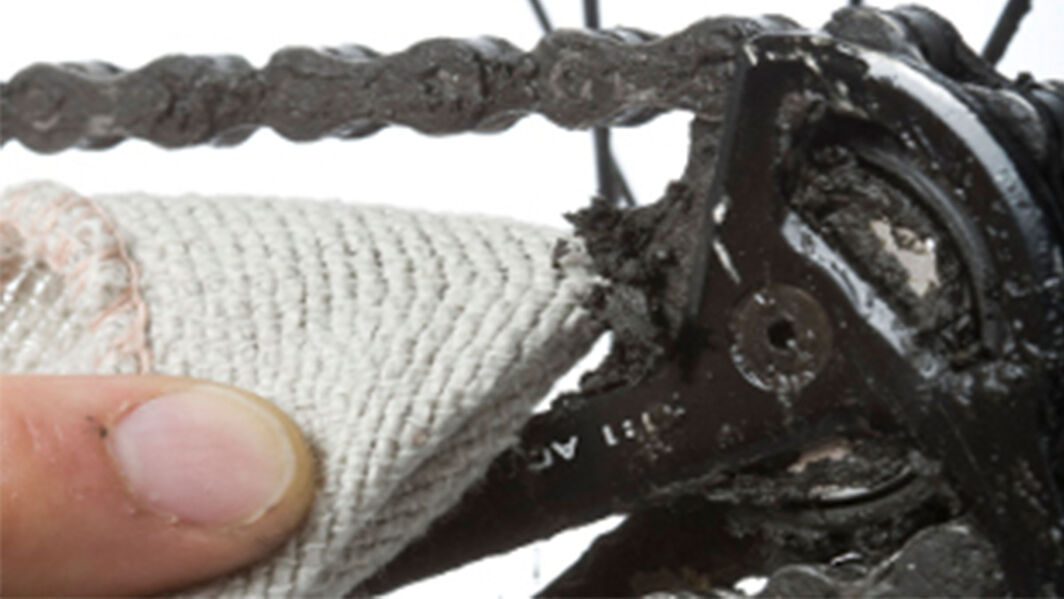
The rear derailleur jockey wheels are liable to become dirty as well. Clean them if necessary using a cloth pulled over a screwdriver. Hold it against the pulleys and turn the cranks. Image 11
-
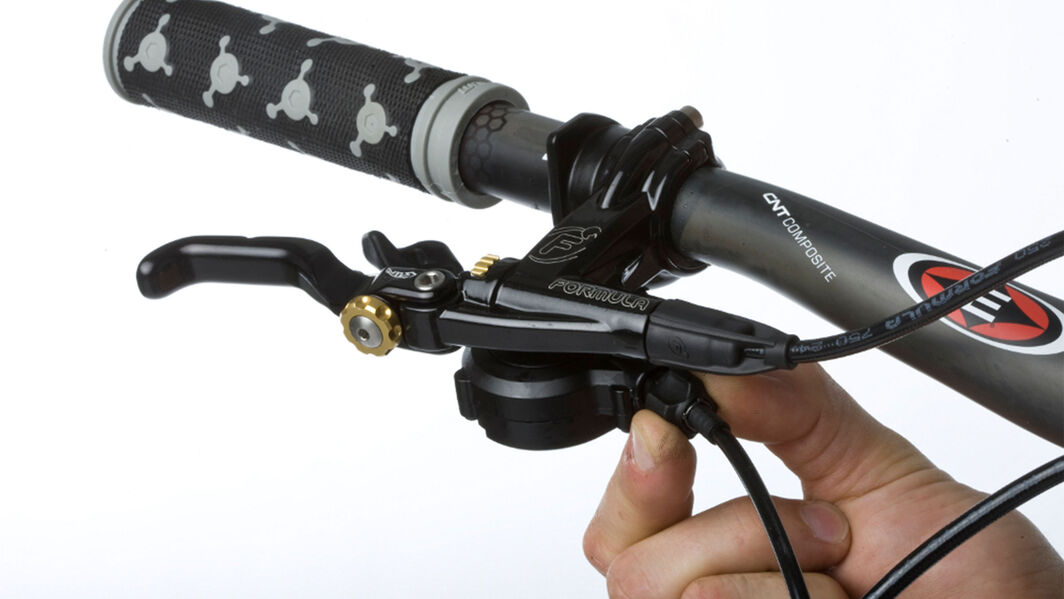
If the rattles or doesn’t shift easily, this is most probably caused by a slightly stretched gear cable. This often happens to road bikes after only a short period of use. You can fix the problem in a few seconds by slightly adjusting the barrel adjusters (turning anti-clockwise) which are fitted on the shifter attached to the handlebars. Image 12
Attention: Only adjust the shift system when it is really necessary. If it isn’t broken, then don’t fix it.
-
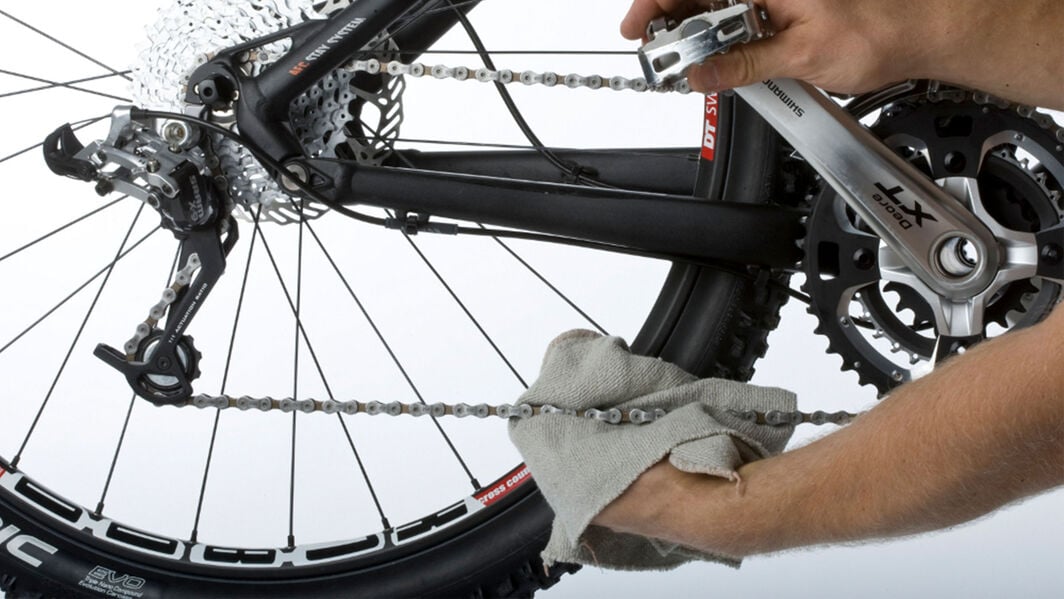
In order to achieve maximum performance, the chain should always be kept clean and well lubricated. Clean your chain by pulling it through a clean cloth and then lubricate it. Ensure that every link gets sufficient lubrication. Let the lubricant briefly soak in and then remove excess with the cloth. Image 13
Attention: Ensure that all bolts and screws are tightened to the correct torque. The correct torque is indicated on the component itself, in the bike manual provided with your new bike, or here in the Technical Support Centre.
Attention: All parts of the brake must be free of oil and grease at all times.
