Ajustement de vélo pour les vélos de route
Finding the correct saddle position is crucial to achieving maximum pedalling efficiency and staying comfortable. Follow these tips to find your optimum position on the bike.
Bike Fitting for Road Bikes
-
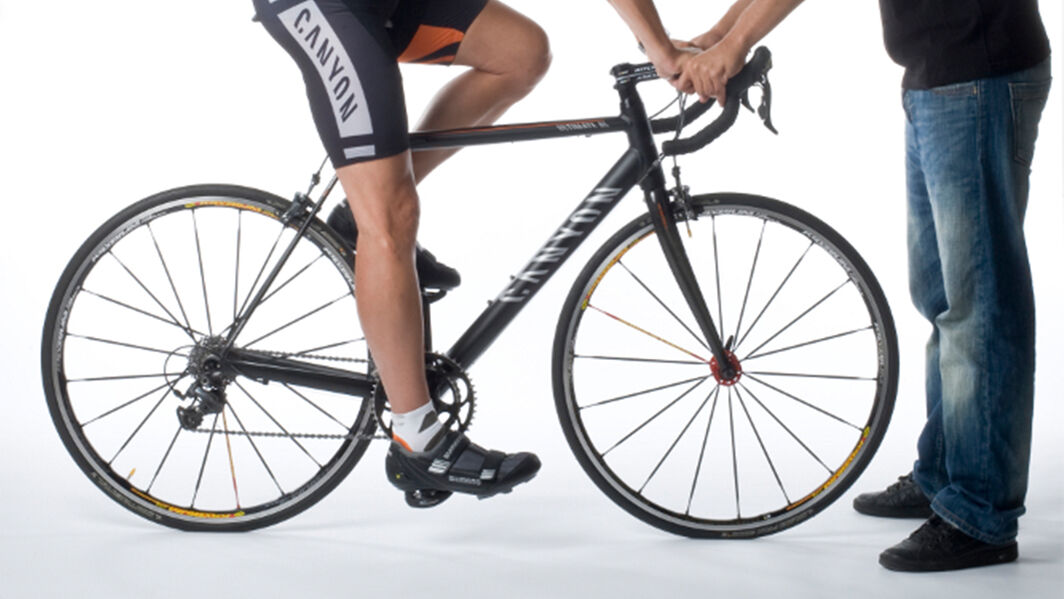
To adjust the saddle height, simply open the seatpost clamp and slide the up and down. To find the correct height, sit on the with your heels on the pedals. At the correct saddle height, your leg should feel slightly stretched when the pedal is in the lowest position. To stay stable on the bike while testing this, you can lean against a wall, or ask somebody to hold the bike for you. Image 1
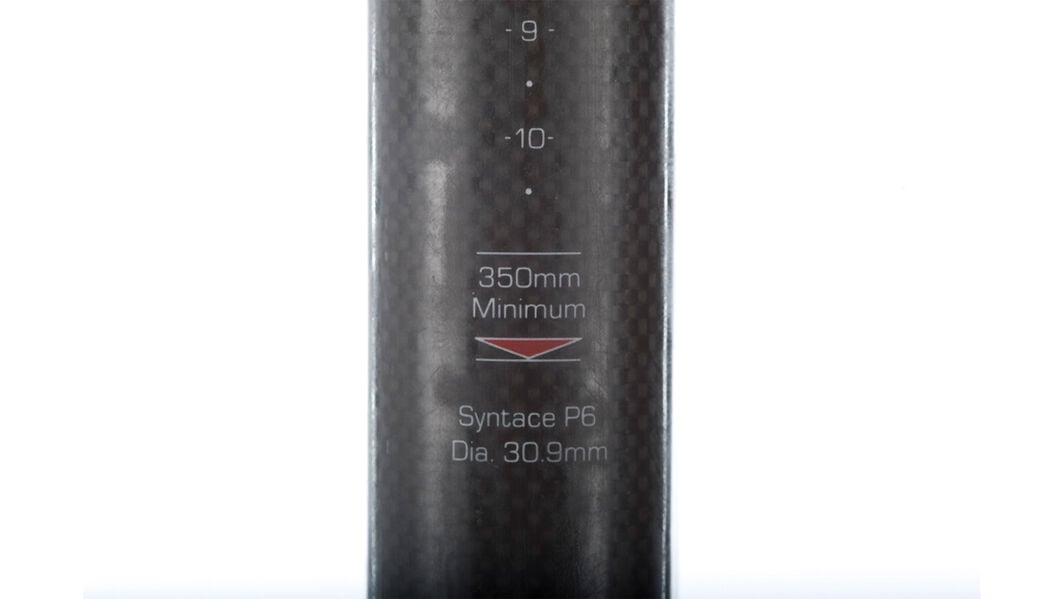
Warning: Every seat post has a maximum and minimum extension limit that you should not be exceeded. This is marked on the seatpost either with an arrow or the word ‘Maximum’ or ‘Minimum’. Image 2
Bike_Fitting_for_Road_Bikes
-
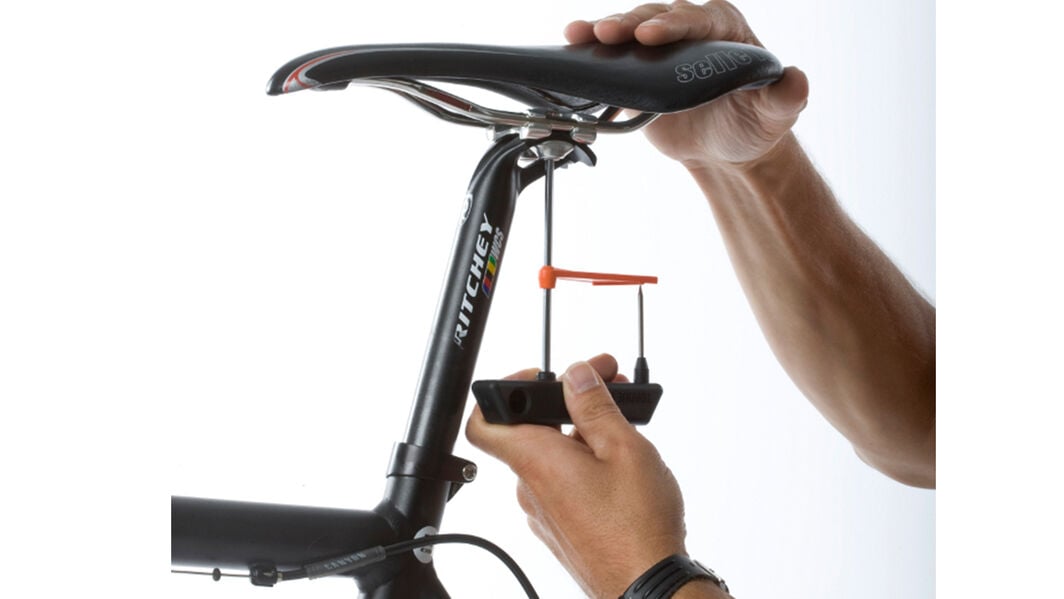
You can move the saddle forwards and backwards, and tilt it up and down. On most seat posts, you make the adjustments using the bolts on the saddle clamp. Image 3
-
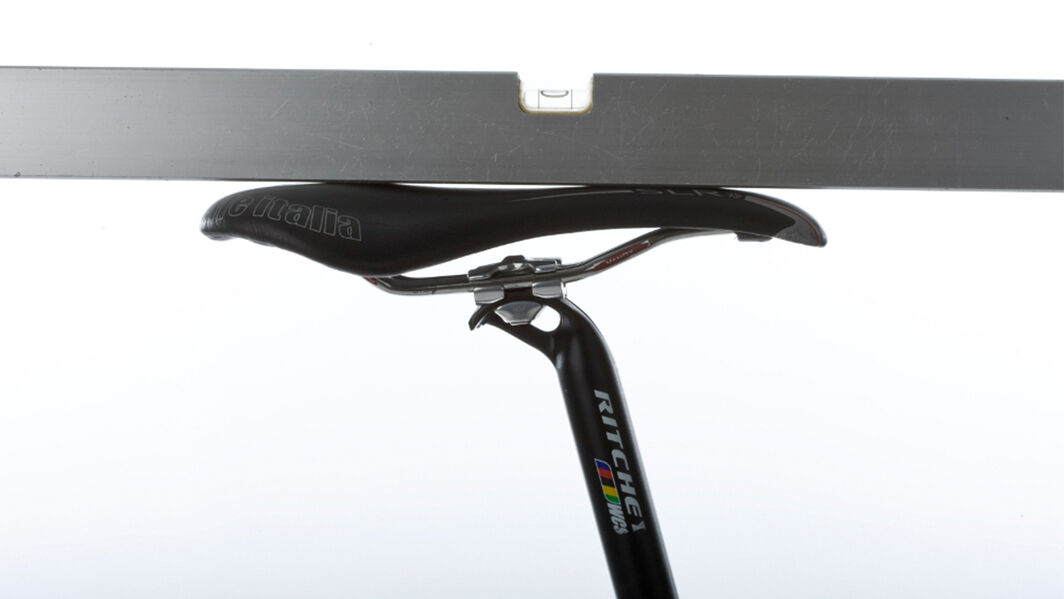
To achieve a good basic position, set the saddle in a flat position. You can check this using a spirit level. Image 4
-
Depending on your preferences, you may want to tilt the saddle downwards. This is sometimes recommended for riders who do a lot of steep climbing.
-
By moving the saddle forwards and backwards, you change the distance between the saddle and the handlebar. When the saddle is positioned further forward, this creates a more comfortable riding position. If you push the saddle further back, you will be more stretched out on the bike, in a more aggressive and aerodynamic position.
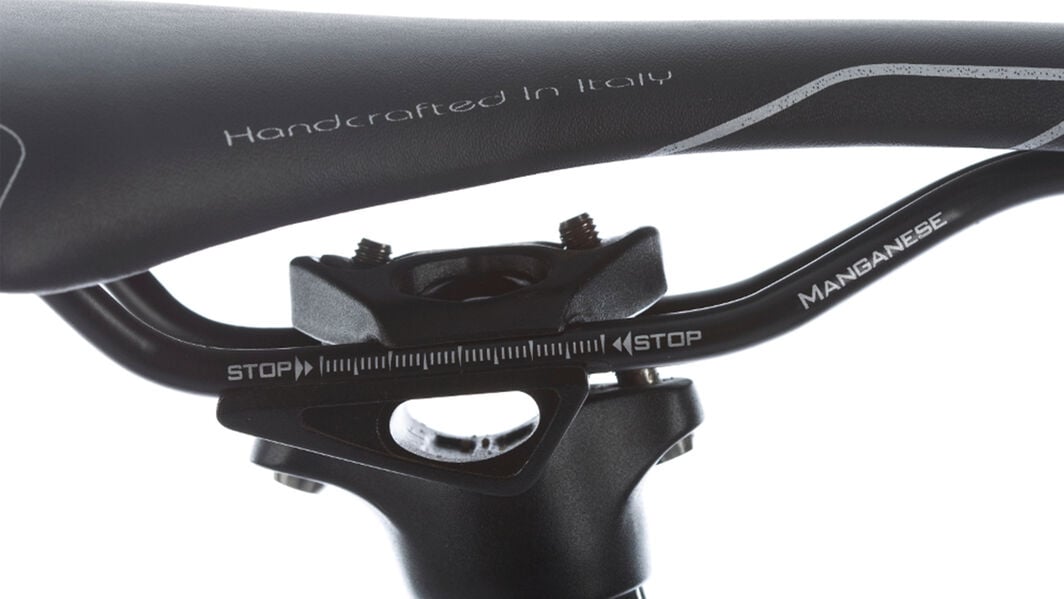
Warning: adjust the saddle only within the marks indicated on the saddle rails. Image 5
-
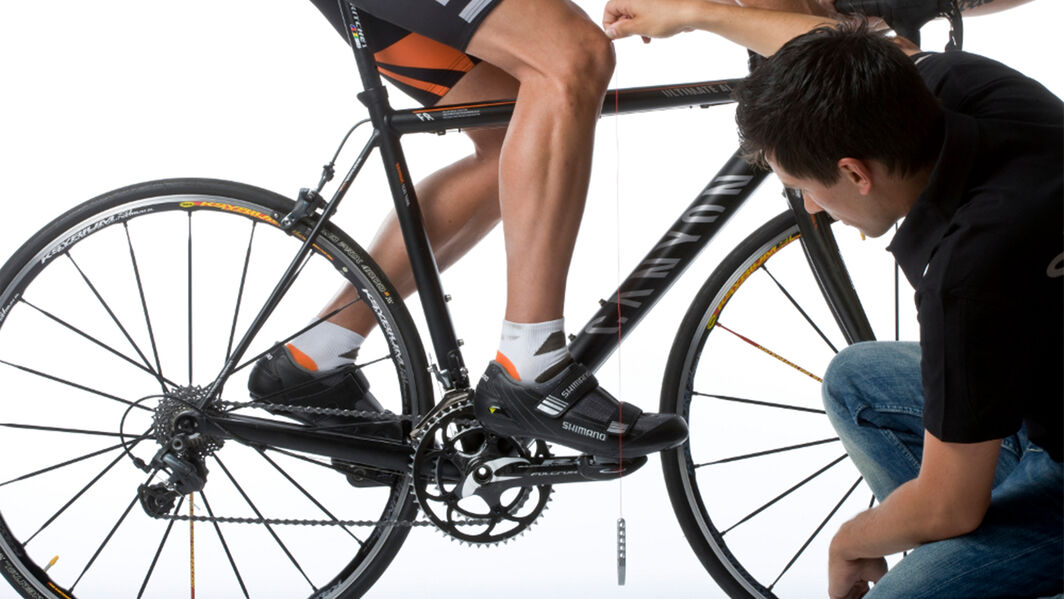
When moving the saddle forwards and backwards, you need to make sure you have the right angle of bend in your knees. When the cranks are horizontal, the knee cap of your leading knee should be directly above the pedal spindle. To test this, ask a helper to hold a plumb line for you while you’re sitting on the bike. Image 6
Tip: The fore-aft position of your cleats also influences your position on the bike, especially the bend angle of your knee. Adjust the cleats in such a way that they are exactly under the ball of your foot. Before fully tightening the cleat bolts locate the ball of your foot with your hand and mark the position using a piece of sticky tape.
