Gravel bikes
-
-
Colour: Pineapple Gummy
-
Colour: Birch Wafer
Shimano GRX RD-RX822 12s, DT Swiss GR 1600 Spline3,449 US$Original price3,949 US$You save 500 US$ -
-
1,599 US$Original price
1,799 US$You save 200 US$ -
-
Colour: White Sprint
-
Colour: Blazing Mustard
Shimano GRX RD-RX822 12s, DT Swiss G1800 Spline2,449 US$Original price2,949 US$You save 500 US$ -
-
Road or Gravel Bike Finder
We’ll help you find your dream road or gravel bike, in a flash. -
-
Colour: Pineapple Gummy
-
Colour: Birch Wafer
Shimano GRX RD-RX822 12s, DT Swiss Gravel LN2,349 US$Original price2,749 US$You save 400 US$ -
-
1,999 US$
-
Find your Canyon size
-
-
Colour: White Sprint
-
Colour: Blazing Mustard
Shimano GRX RD-RX820 12s, DT Swiss Gravel LN1,999 US$Original price2,199 US$You save 200 US$ -
-
-
Colour: Pineapple Gummy
-
Colour: Lavender Gelato
Shimano GRX RD-RX822 12s, DT Swiss Gravel LN2,449 US$ -
What is a gravel bike?
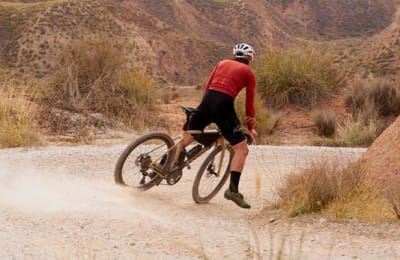
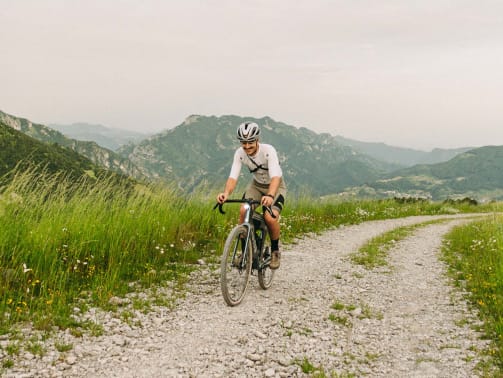
A gravel bike allows you to ride on paved roads and dirt tracks. At first glance, the bike looks like a road bike. However, its wide tyres, frame geometry and components are adapted to gravel roads and forest paths. The Gravel Bike offers more comfort than a cyclocross bike and is almost as agile as a road bike. This makes it suitable for extended bikepacking adventures or weekend rides.
The advantages of a gravel bike
There are so many advantages to gravel bikes, so we’ll discuss just a few. As a cross between a road bike, mountain bike and cyclocross bike, gravel bikes are incredibly capable across rough terrain and smooth roads.
How is a gravel bike different from a road bike?
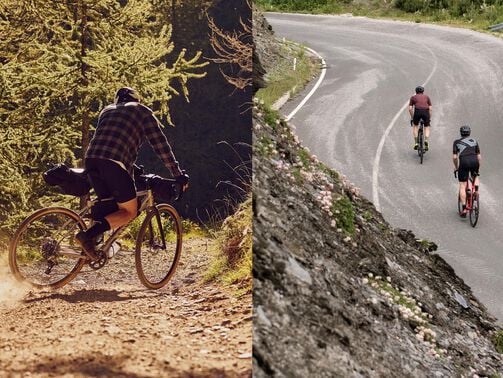
There are many similarities between a road bike and a gravel bike such as the shape of the frame and drop bars. Unlike a road bike, you are not bound to roads or paved cycle paths. Gravel bikes are some kind of adventure road bike. See a bridleway? Find out where it leads to. Like the look of that forest path? Go on - gravel adventure awaits!
Depending on the accessories, the Gravel Bike can be used as an everyday bike or for specific cycling trips. You can mount custom-fit mudguards at the mounting points to protect you from splashing water and dirt. The frame geometry of Gravel Bikes is more versatile than our competition-orientated cyclocross bikes ensuring a comfortable ride.
Are gravel bikes similar to mountain bikes?
Like mountain bikes, gravel bikes also feature wide, comfortable tyres, high-quality hydraulic disc brakes and a good range of gears for all terrain. Combined with a more upright riding position, you’ll have maximum control and stability off-road while maintaining speed on the tarmac.
Maximum power with an e-gravel bike
An e-gravel bike allows you to ride longer distances and faster speeds with less effort. Gravel bikes with electric motors offer you a dynamic riding experience and powerful support on demanding terrain.
Gravel bikes from Canyon
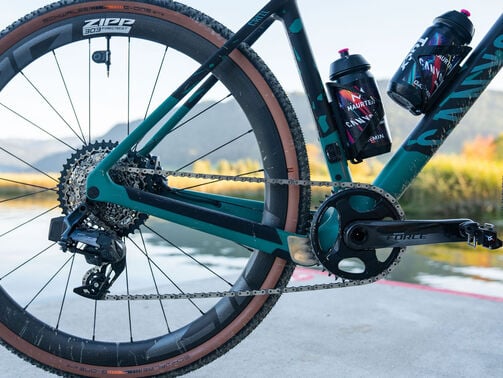
Canyon offers you an excellent selection of gravel bikes. The aluminium or carbon bikes have high-quality components. The groupsets are available in mechanical or electronic versions. On our Grizl, you have the option of a suspension fork.
The Canyon Grail is available with the innovative double-decker handlebar that dampens vibrations. With off-road bikes you’re safe with disc brakes. Our Grizl vs. Grail article outlines the pros and cons of both bikes so you can find the perfect gravel grinder for you.
What kind of terrain is good for Gravel Bikes?
All-Road: For fast rides on the road and on easy forest tracks. Treat yourself to an off-road excursion on your after-work ride.
Fine gravel: Low weight, optimal aerodynamics and treaded tyres. Get playful on some more exciting gravel tracks.
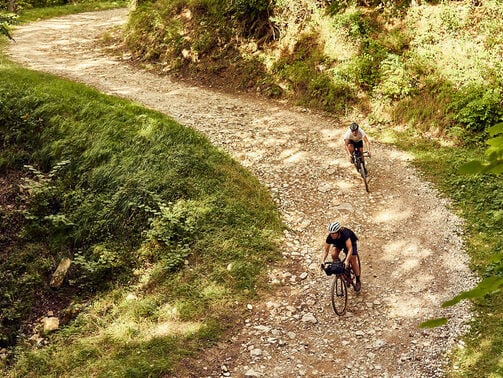
Coarse gravel: No challenge is too big. Conquer tracks that are considered unrideable. Explore forest and wilderness without sacrificing speed.
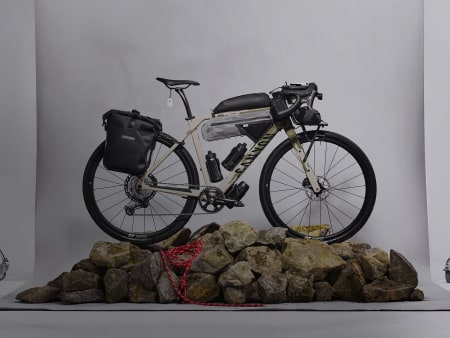
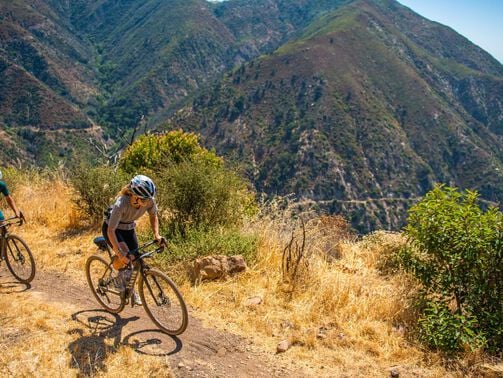
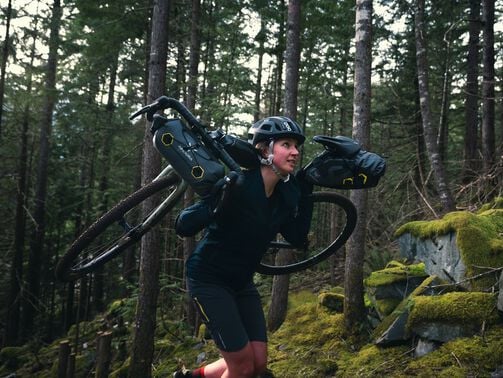
Bikepacking: Enjoy your freedom on extended multi-day rides. You, your bike and your bags without a care in the world. Discover our Gravel Bikes
Buy Gravel Bikes online
We offer you outstanding value for money when you buy online. Use the Perfect Positioning System (PPS) to find the right size for your frame. Once you have found your dream bike, we will deliver it directly to your home and advise you on the final assembly. Your new gravel bike is ready to ride in just a few quick steps. Guarantee and customer-friendly return conditions as well as flexible payment options round off the online purchase.
