Reboxing your Canyon bike
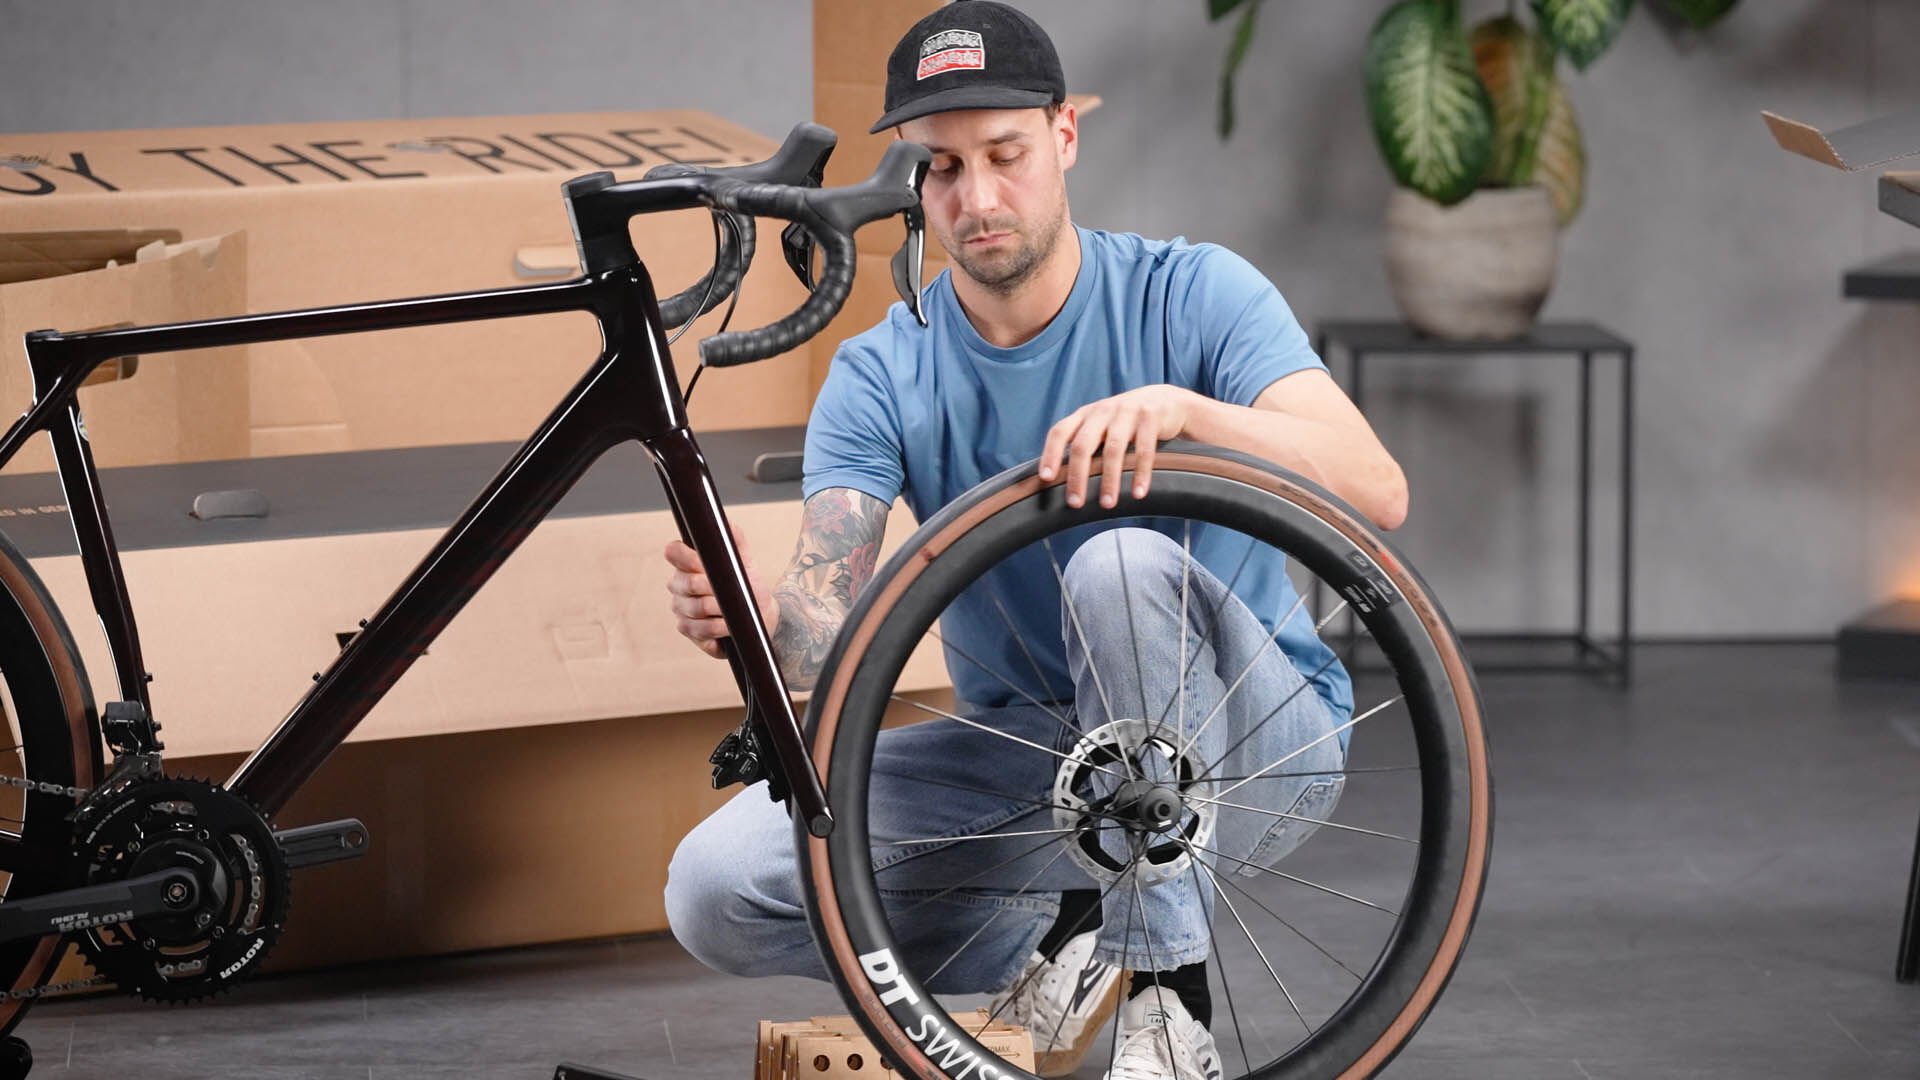
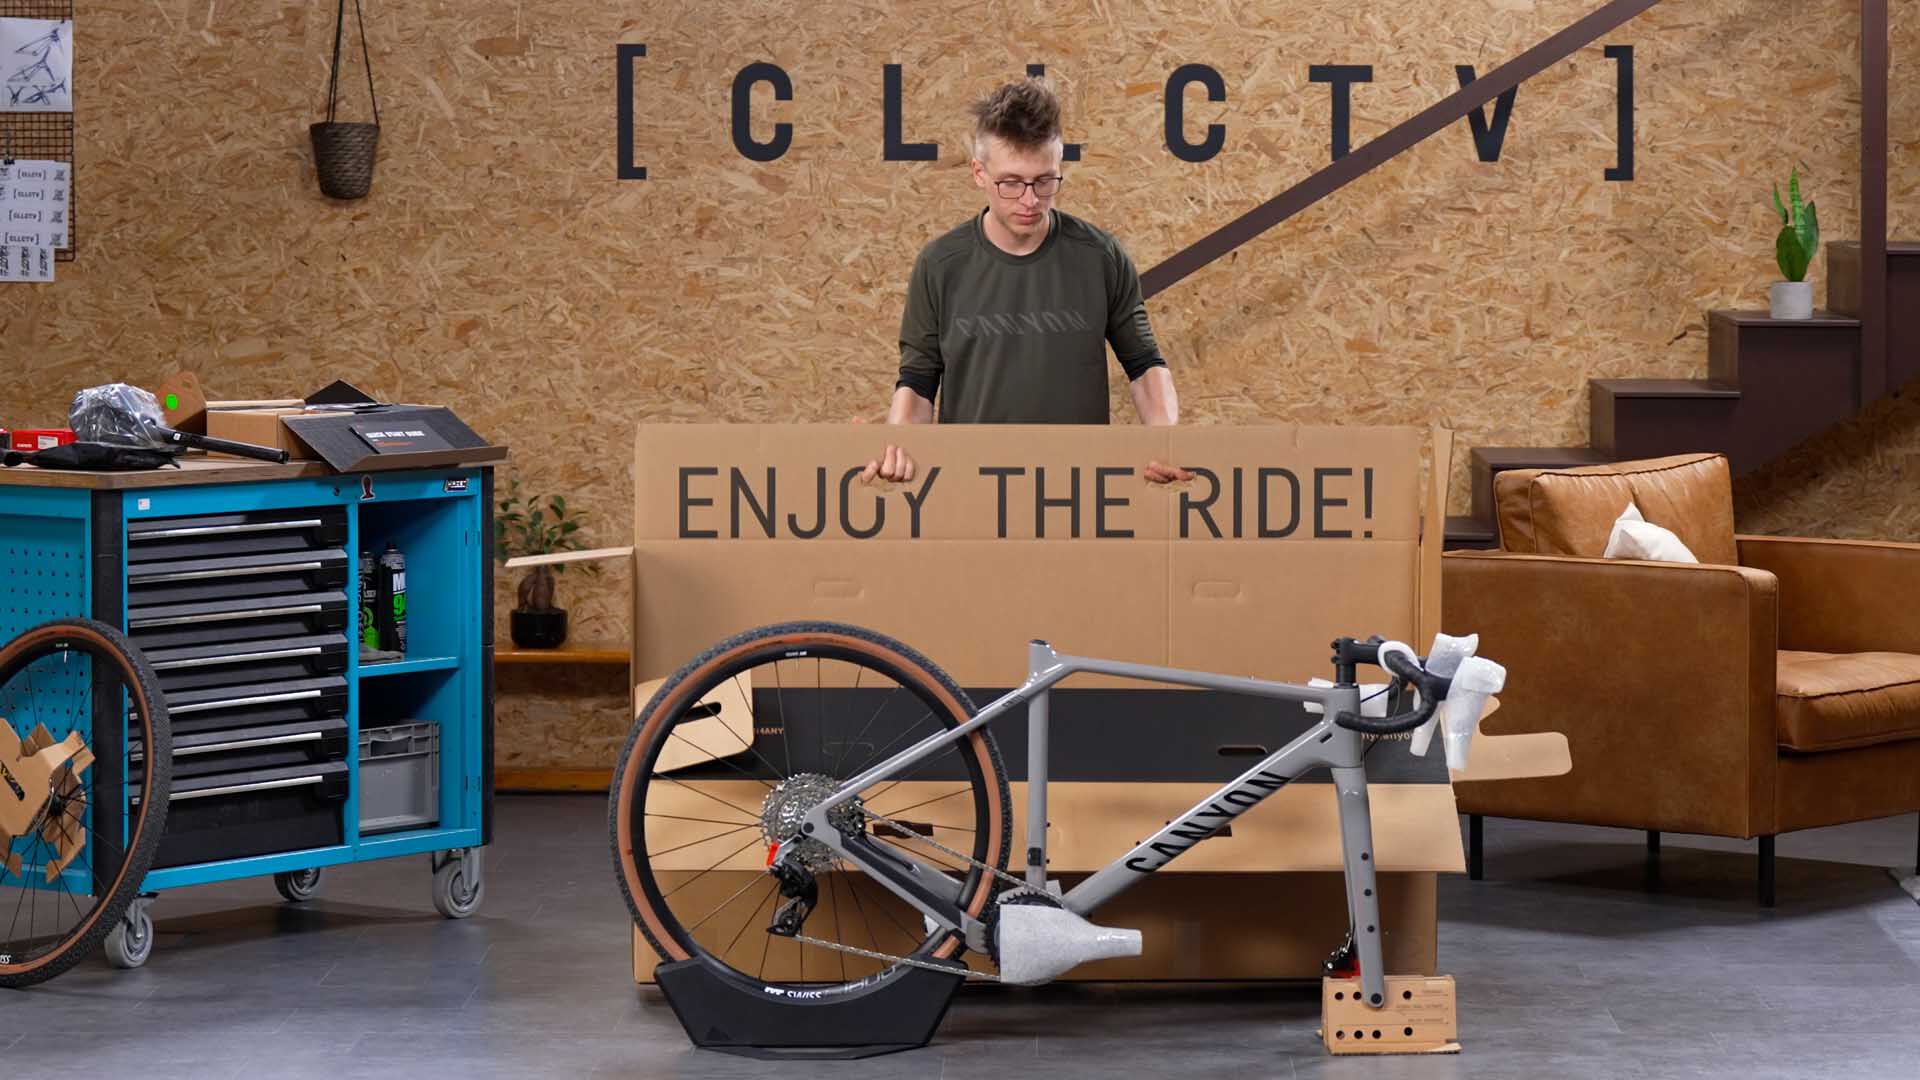
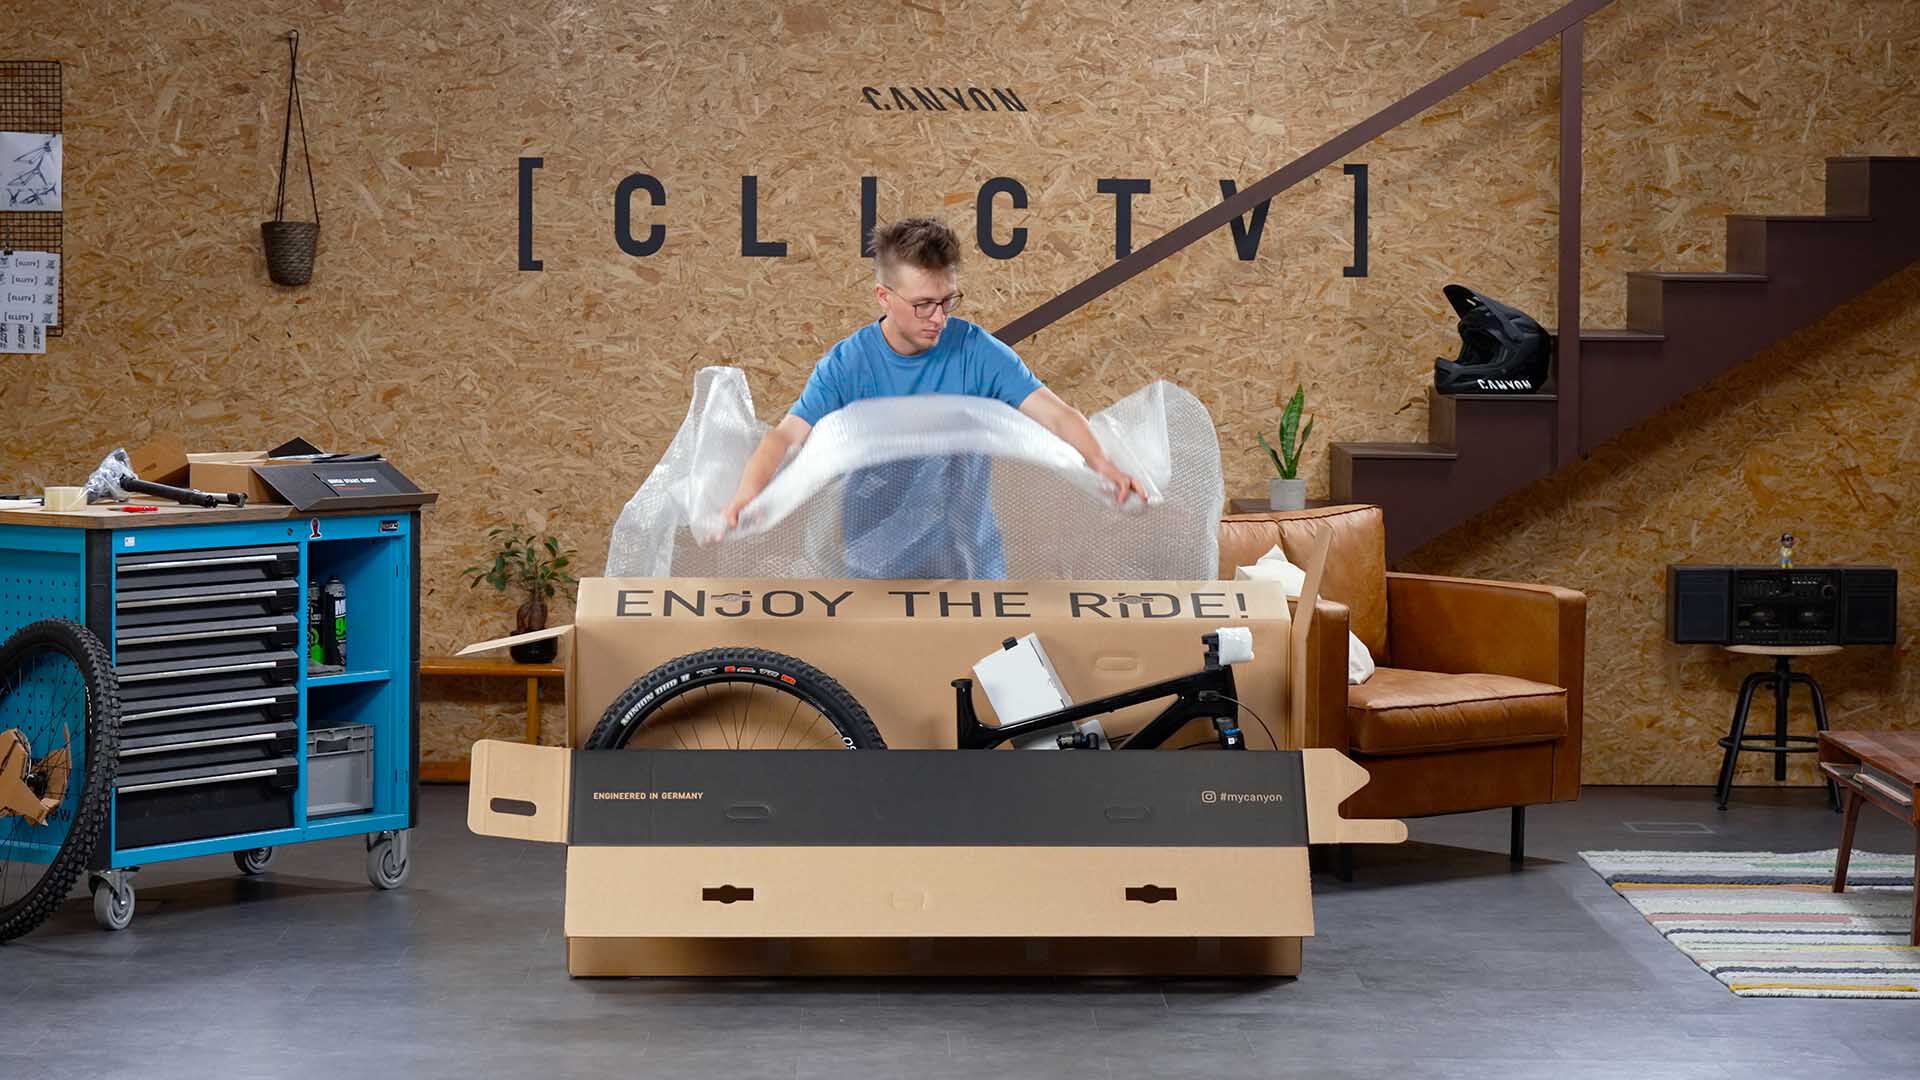
Here’s our guide on how to pack your mountain, road or gravel bike keeping it scratch-free and undamaged while shipping.
This guide focuses on packing your bike in the Bike Guard box your Canyon was delivered in. Each box is specially designed for your bike to store it as safely as possible.
Note: This guide does not cover e-bikes. If you need to pack your e-MTB see the video below, for other e-bikes follow your quick start guide in reverse.
Reboxing videos
If you're taking your bike abroad by road rail or air it's a good idea to buy a specially designed bike travel bag like our Canyon Bike Bag.
When you are travelling with your bike it’s a good idea to buy specialist insurance to give you peace of mind.
What you need to know
- Difficulty
- Easy. Should take around 20 minutes.
- Regularity
- Whenever you need to travel with your bike or ship your bike.
- Tools needed
-
A set of Allen keys and Torx keys.
A shock pump if you have a bike with suspension.
A pedal spanner if your pedals need to be removed with one. - Risk level
- Low.
Let's get started
Preparing your bike and Bike Guard
-
Open the box and set aside the tool boxes and packaging material.
-
Remove your pedals by turning them in the opposite direction to pedalling. You may need to refer to your owner’s manual for the correct tool.
Place your pedals in one of the cardboard boxes.
-
-
-
If you have a dropper post make sure this is in the lowest position.
-
Full suspension bikes:
Remove the valve cover on your shock and screw on your shock pump.
Remove the air by pressing the button on your shock pump.
You may need to push the suspension down while pressing the release valve to get all of the air out.
Replace the valve cover. -
Remove the valve cover on your forks and screw on your shock pump.
Remove the air by pressing the button on your shock pump.
You may need to push down on the handlebars while pressing the release valve to get all of the air out.
Replace the valve cover.
-
-
-
-
-
-
Remove the front wheel by taking the axle out or releasing the quick release lever and unscrewing it slightly.
You might need an Allen key to unscrew the axle on the same side as the disc brake.
Rim brake bikes:
Turn the lever on the brakes to open them away from the rim before you take the wheel out. -
If you have a brace for the forks put that between the front drop outs (where you just removed the axle).
If not screw the axle back in. -
If you have hydraulic disc brakes insert the brake blocker (or transport spacer) between the brake pads.
-
-
-
-
-
-
-
-
-
Rest your bike on the side of the Bike Guard box with the forks inside or use a workstand to hold your bike in place.
-
If you have a dropper post remote lever remove this by unscrewing it from the handlebars with a 3mm Allen key or a Torx key please refer to the owner’s manual if you’re in doubt.
-
Once the lever is removed from the handlebars pack it securely in some bubble wrap or similar packaging material.
-
With a 4mm Allen key undo the seat clamp. This is a collar with tightening screw where the frame meets the seat post.
-
To avoid damage, feed the cable or hose into the frame at the same time as you pull the seatpost out. Do this until the lever rests as close as possible to the frame.
-
Strap the seatpost to the frame using the foam blocks and hook and loop fastener straps your bike originally came with. If you no longer have these use electrical tape or similar low adhesive tape.
-
Attach the dropper post remote to the frame with hook and loop fasteners or tape.
-
-
-
-
-
-
-
-
-
-
-
-
-
-
-
-
Lay your bike on its side on top of the box or carefully rest your bike on the floor.
-
Strap your front wheel to the frame using the foam spacers your bike came with or similar packing material.
-
Secure the wheel to the frame using hook and loop fastener straps electrical tape or similar low adhesive tape.
Note: Make sure that parts that have been removed are not touching the frame forks or other components of the bike. If in doubt use extra packing material.
PLEASE NOTE: These instructions do not cover bikes with integrated cockpits (where the stem and handlebars are a single piece).
For these bikes follow the unboxing video or quick start guide but in reverse.
-
-
-
-
-
-
-
-
-
-
-
-
-
-
-
-
-
-
-
At the front of the stem (where the handlebars attach to the forks above the frame) unscrew and remove the faceplate bolts with a 4mm Allen key.
-
Remove the handlebars and carefully rest them on the frame or forks.
-
Screw the faceplate bolts back on to the stem. They do not need to be tight just enough to stop the faceplate from rattling.
-
Road bikes (and other drop handlebar bikes):
2XS XS and S size: Using the foam spacers that came with your bike (or similar) and hook and loop fastener straps electrical tape or similar low adhesive tape secure your handlebars to the top of the frame.
Other sizes: Using the foam spacers that came with your bike (or similar) and hook and loop fastener straps electrical tape or similar low adhesive tape secure your handlebars to the top of the frame. -
Mountain bikes (and other flat handlebar bikes):
With the foam spacers that came with your bike (or similar) and hook and loop fastener straps electrical tape or similar low adhesive tape secure your handlebars to the forks and frame.
-
-
-
-
-
-
-
-
-
-
-
-
-
-
-
-
-
-
-
-
-
-
-
-
Place the cardboard back wheel and front wheel supports in your Bike Guard box.
-
Carefully lower your bike into the box making sure the back wheel slots into the back wheel holder.
-
Use the cardboard supports that came with your Bike Guard box to keep your bike steady in the box.
-
Place the small parts box inside slotting the opening over the crank arm on the side without the chainring (non-drive side).
-
With packing or clear tape secure the shorter sides of the box to the cardboard supports.
-
Close the wider sides of the box and insert the tabs to secure the top. Tape these with packing or clear tape.
-
Related help pages
Canyon warranty and guarantee
When you buy from Canyon your bike is covered by an extended manufacturer guarantee in addition to the legally required warranty.


