How to wrap handlebar tape
Wrapping handlebar tape is an important yet challenging task. This article provides a detailed guide addressing common concerns about tape placement, tightness, wrapping direction, and potential gaps.


For any cyclist and home mechanic, knowing how to wrap handlebar tape is a crucial and essential job but one many find challenging or intimidating. What if there are unsightly gaps in the bar tape? How do you correctly wrap the tape under and around your shifters and brake levers? How tight should the tape be wrapped? All these questions and more will be answered in the article below.
Contents
Why do you need new handlebar tape?
If you buy a complete bike, a Canyon for example, the handlebars will be prewrapped with bar tape. However, if you want to make changes to your cockpit area, whether increasing or decreasing the width and reach of your bars or if you build up a bike yourself from scratch, you will need to wrap new bar tape.
What kind of bar tape do you need?
First, you need to decide on the colour, thickness and texture of tape. These considerations may often depend on your ride style. Road bike riders who race or simply want the lightest bike possible may opt for a thinner tape. Gravel or endurance riders, however, often choose a thicker, more shock absorbing tape. This kind of handlebar tape is slightly heavier but is usually more comfortable.
A sticky but non adhesive tape is recommended because mistakes can be made, and you may often find yourself starting the wrapping process repeatedly to ensure you get the finish you want. If you have bought tape that leaves a sticky residue or tears when unwrapping, you will leave yourself little margin for error and need to get your wrap right on the first attempt.

Taping technique
Before you begin wrapping your tape, there are some important taping technique tips to remember:
- A firm but even amount of tension on the tape is vital. You don’t want the tape to loosen when you are riding, equally you don’t want it to tear.
- It is important to wrap the tape consistently so that the width of the tape is even throughout. Not only does this look neater, it ensures you won’t reach the top of the bar with not enough tape, or in some cases, too much.
- Wrap the tape from the outside to the inside- towards the frame. This means the tape will tighten as you grip it rather than loosen.
The process of wrapping handlebar tape
The drops
Starting from the bottom of the bar, leave about 1cm of excess tape hanging off the bars at the drops to let you insert the bar end plug for a clean finish. Wrap the tape firmly but evenly until you approach the shifter.
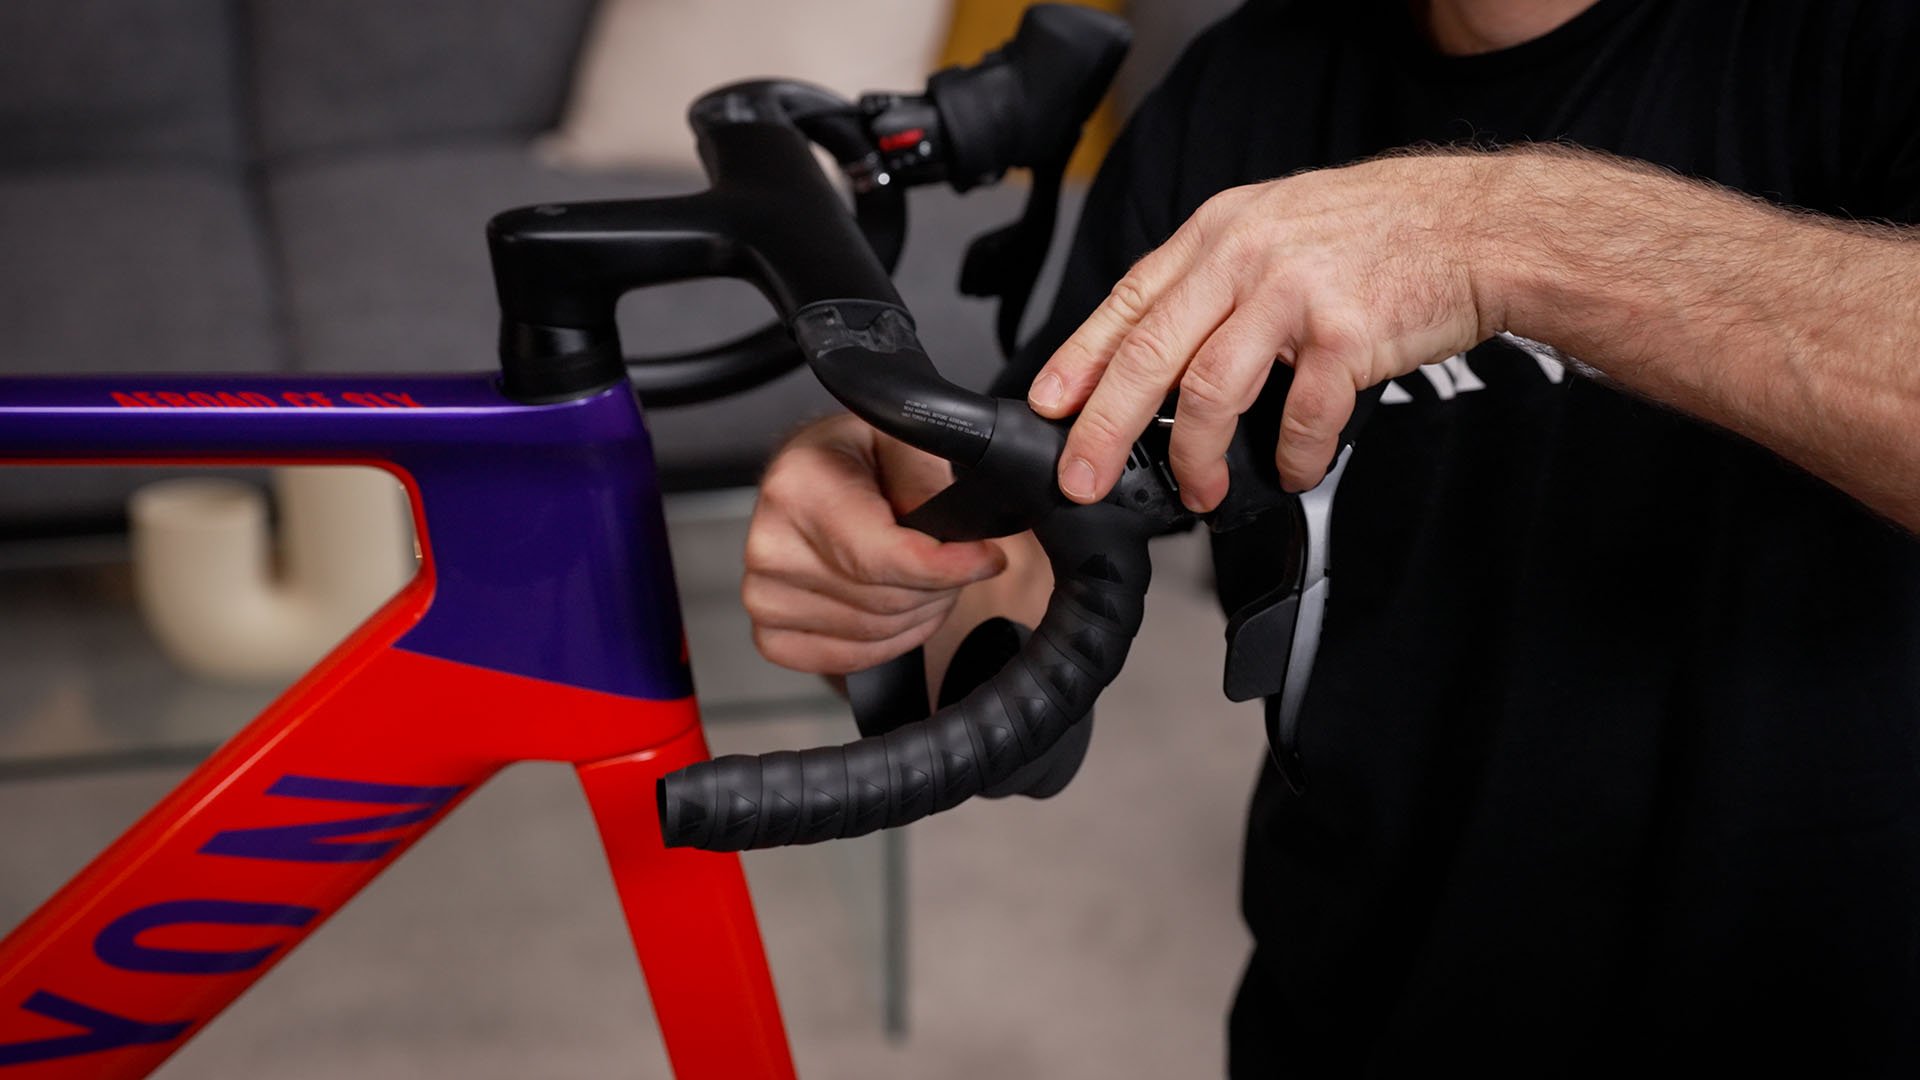
The shifter
If you haven’t already, roll up the rubber hood of your shifter to allow you to partially tape onto part of the shifter body. Most brands of handlebar tape supply two extra small strips of tape to go under each hood, covering the spaces on the outside of the shifter. If you don’t choose to use these pieces, you can apply the double figure of eight technique. This allows for a cleaner and less bulky finish but leaves less tape for the top of the bars.
The tops of the bars
After wrapping around the shifter you will reach the tops of your handlebars. Once again, use a firm and even technique, pulling the tape towards you. As before, wrapping the tape in this direction ensures that as you grip the bars, the tape will get tighter, not looser. Finally, you will be approaching the stem. On traditional two-piece cockpit setups, leaving 2-3cm of exposed handlebar is generally favoured. The gap will allow you to attach a computer mount or light. If you have an aero cockpit the distance between the end of the bar tape and the stem will be longer. This is to account for the flat aero section of the one-piece cockpit, where tape is not required.
Final touches
Finally, you should cut the tape at an angle using scissors to ensure it lies parallel to the stem. Using either the supplied finishing strips or some electrical tape, wrap it around the end of your tape for a clean and tidy finish.


Did this article help?
Thank you for your feedback


