Bikepacking route planning made easy: how to map your next adventure
Wondering where to begin with your adventure of a lifetime? Take your map and big dreams with you and let us help you plan a perfect route for bikepacking.
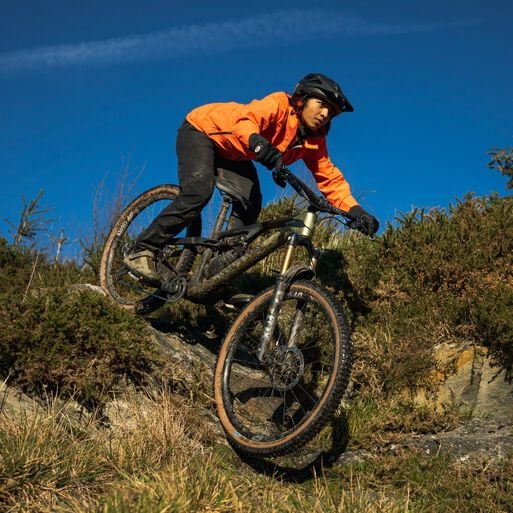
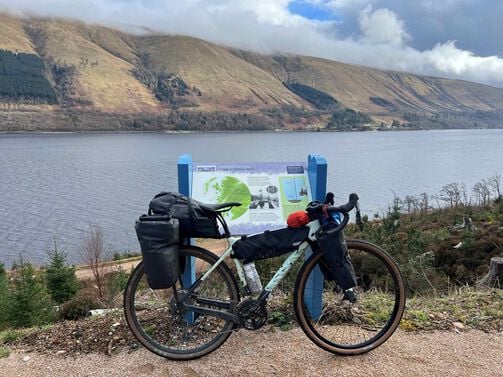
Every dream bikepacking adventure begins with planning a route. This process requires creativity, resourcefulness and that fine line between pure delusion and a dash of realism. The perfect route involves a mix between challenge and enjoyment. Whether it’s a solo bikepacking adventure or a group one, good planning will ensure that you’re covering all the bases. So let’s learn how to plan a bikepacking route that works for you.
Contents
Conceptualise your bikepacking route
Have you ever found yourself aimlessly staring at a place on the map that you really want to explore but you aren’t quite sure where to begin? Well, your curiosity can only get you so far. In order to make the most out of your adventure, you need a good route that aligns with your current fitness levels, available time and finances, and previous experiences.
Define route goals and terrain preferences
First things first, think about the purpose of this trip- is it an adventure, a challenge, or a scenic relaxation. This fundamental question will shape every decision from daily mileage to bikes and gear selection. Next, think about the terrain you might like to travel in. Every environment requires a distinct set of skills and equipment. For example, a mountain route demands strong climbing legs and technical handling skills, while a primarily desert route will require exceptional water management and heat tolerance.
Your terrain preferences will also determine which bike you take with you. Canyon offers a wide range of bikes suitable for every terrain. Heading into the wild with some chunky terrain along the way? Mountain bikes from the cross country range like Grand Canyon or Exceed might be perfect for that. Fancy a bike that can truly handle most terrains and still keep you rolling? Gravel bikes like Grizl or Grail will do the job. Want to keep things simple and stick to the tarmac? Check out Canyon’s endurance-specific road bike range- Endurace.
Set realistic expectations
Remember that every bit of adventure related information you see online is based on that particular individual’s fitness and bikepacking experience. So, yes, please do draw inspiration from what you see but don’t copy everything as it is. If you’re new to bikepacking, maybe start with a 2-3 day route to test systems before longer adventures. Remember, heavier the gear slower the pace. Add some elevation game into the mix and things can get real challenging. Your route should work for your level of riding. It’s also worth accounting for cumulative fatigue over the days that you’ll be riding.
Basic considerations for bikepacking route creation and planning
Match route length with available time by working backwards from your schedule. Leave some buffer days for travel days, weather delays, and mechanical issues. If you’re following a route that you found on the internet, remember that you can always change it to work for you. The terrain will impact how long your ride takes. Hillier terrain, especially off-road, will make for some slow riding. For example, a distance that might take you 4 hours to do on a relatively flat route with no wind could easily take nearly 7 hours if it’s steeper terrain or if there’s a headwind. Another important consideration when you’re planning your route is the season you plan to go in. High-altitude passes may be impassable in winter and desert routes may be dangerous in summer.
During my round the world ride, I deliberately planned my route across Australia in winter so that the wind across the desert region would be favourable and I would generally avoid riding through too much heat. Similarly, I planned my record attempt across the Indian Himalayas right after the main highway had opened so that any major issues would have already cleared up and I wouldn’t come across as many landslides and road closures as you’d normally expect from that route.
Best bikepacking route planning tools
Ideally, you should have access to both digital and physical maps to plan and navigate your route. Digital maps excel at route calculation and real-time navigation. Paper maps provide reliable backup and a big-picture geographic perspective.
Digital mapping
Komoot excels with intuitive interface and strong social features for route creation and sharing. It provides detailed surface information and community-driven discovery. Komoot is also great for on-the-go navigation. The time estimates for the routes based on your ability level are also fairly accurate.
Ride with GPS offers powerful route creation tools with advanced analysis features. While less intuitive than Komoot, it provides superior customisation and detailed data visualisation for serious planners. Personally, I love that Ride with GPS will tell me exactly how many climbs my route contains, how long they are and what’s the average gradient.
Gaia GPS focuses on backcountry navigation with multiple map layers including topographic maps and specialised overlays. Particularly valuable for public land access points and land management boundaries. I love that you always know what altitude you are cruising at. I always had Gaia GPS handy in Peru where I was cruising at higher altitudes consistently. There was something very satisfying about knowing that every pedal is taking me into higher mountains, thinner air and bigger views.
Analog mapping
Nothing beats paper maps. They remain indispensable for situational awareness, showing large areas simultaneously and helping identify alternatives when digital devices fail. Especially when batteries die, they serve as crucial backup in remote areas. Learning to navigate with a paper map is extremely empowering and is a great way to take your adventure a little bit off grid safely.
Satellite mapping
You know that little yellow man on Google Maps and Google Earth? Don’t be scared to drag and drop him wherever your planned route is taking you. If that’s not an option, even zooming in helps! You can also drag and drop him on your route directly within Ride with GPS, which is a great feature. Satellite imagery reveals road surfaces, trail conditions, seasonal water availability, and obstacles not visible on standard maps. Use multiple imagery sources and dates to understand seasonal variations in stream flows and vegetation.
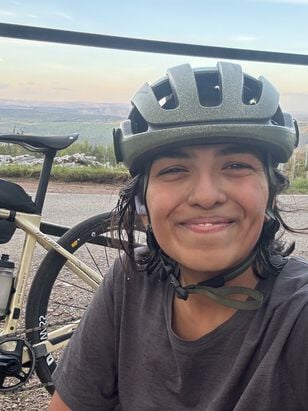
Most people find that aiming for between 30 and 50 miles (about 50–80 kilometers) per day is a good starting point, especially if the terrain is mixed or you’re a beginnerVedangi Kulkarni
How far can you ride? Setting realistic bikepacking distances
Your mileage depends upon a number of factors – base fitness, terrain difficulty, elevation gain, bike and gear weight, and weather. Take an honest look at your cycling experience, fitness, and the finer details of your route. Most people find that aiming for between 30 and 50 miles (about 50–80 kilometers) per day is a good starting point, especially if the terrain is mixed or you’re a beginner. If you’re more experienced or traveling on smooth roads, you can bump this up, but remember: challenging trails, hills, or rough surfaces will slow your pace considerably.
Think about more than just distance. Elevation gain, the type of surfaces (tarmac, gravel, or technical trails), and the extra weight from your bikepacking gear all make a big difference. Even the weather and daylight hours matter – shorter days mean less riding time, while wind or heat can sap your energy faster. I recommend checking the daylight hours on your weather app. Remember to make time for stopping for photos, lunch, or to simply take in the scenery. Be generous with your estimates and don’t cram your days too full.
Keep it simple – start with shorter distances and build up as you go. You really don’t want to burn out too early into your adventure. If your planned route is out in the wilderness, think about how your rest days can be in towns with amenities and attractions. Nobody ever complained from having an extra half an hour at the lunch stop.
For proven strategies to boost your endurance, head to our complete guide on training for long-distance rides.
Plan for food, water, and shelter
Successful bikepacking route planning goes beyond the path itself - you’ll need to know where to eat, refill water, and sleep. Planning these essentials keeps your ride safe, smooth, and enjoyable.
Find reliable water sources
No matter where you are, you’re going to need to refill those water bottles and bladders that you’re carrying. It doesn’t always have to be a task to figure out how. Along your route, think about natural features like rivers or lakes where water is likely available. Some apps even note public water points. For example, during The Transcontinental Race, I was using Komoot to navigate in Spain and toggled the ‘public water fountains’ feature on so that I’d basically never run out of water. Plan your day so refills are possible – they're easiest at public places such as gas stations, restaurants, or convenience stores. In France, every cemetery will have a tap somewhere. Creepy as it might sound, it’s an absolute lifesaver.
Planning a bit more of a remote wander? Carry a water filter or purification drops to treat water from streams or lakes. Always err on the side of caution: fill up when the chance arises, carry an extra water bladder for dry stretches, and never count on a stream or fountain until you see it. In hot weather, plan for about 750ml to 1 litre per hour of riding, and consider camping close to water sources to make your evenings easier (but not so close that you and your camping setup will float away in case the water levels rise).
Plan campsites and overnight stops
Plan for variety by mixing tent camping with the occasional hostel, B&B, or even a night in a small hotel if the weather turns or for a shower break. See what’s available along the way in terms of established campsites and if you need to pre-book it, especially during busy seasons. Camping is a great way to keep your bikepacking on a limited budget. Think about backup options. Tools like iOverlander can help you find good spots to wild camp. Check the legislation around wild camping before you decide to do so. For example, in the UK, you aren’t allowed to wild camp in England (Dartmoor National Park being an exception) or Wales but can freely do so anywhere in Scotland.
No matter which option you choose when it comes to camping, remember to leave the place better than you found it. You know what’s better than leaving no trace? Leaving a positive trace.
If you’re staying at a hotel, call up ahead and check if they’re okay with storing your bike in the luggage room or somewhere indoors. Pack your bike accordingly. If you’re lucky, they may even allow you to take your bike in your room. In the UK, the Premier Inn chain of hotels are very welcoming with their bicycle policy. Make sure your bike is clean before it’s taken anywhere indoors though.
Resupply planning
Here’s one very sure thing about your bikepacking adventure – you will always be looking forward to your next meal or snack. Think about where food and essential items can be bought along the route. Identify the towns or stores (or gas stations?) along the way. Carrying much more than 2-3 days worth of food along might make your bike heavy and slow. Research what options are available – grocery stores offer better choices and prices, while convenience stores are faster but more limited and expensive. If you’re on a long haul trip, you can even mail some stuff ahead. Not sure what gear to bring? Our bikepacking essentials checklist guide makes packing simple and stress-free.
When stopping for resupply, always check calorie needs carefully and pack an emergency meal and snacks in case a store is closed or you need more time (and food) to reach the next point. Save space by repackaging larger quantities into freezer bags. Plan your resupply points ahead of time if you can to avoid panicking when the hunger sets in.
Be ride-ready: key preparations for safe and successful bikepacking
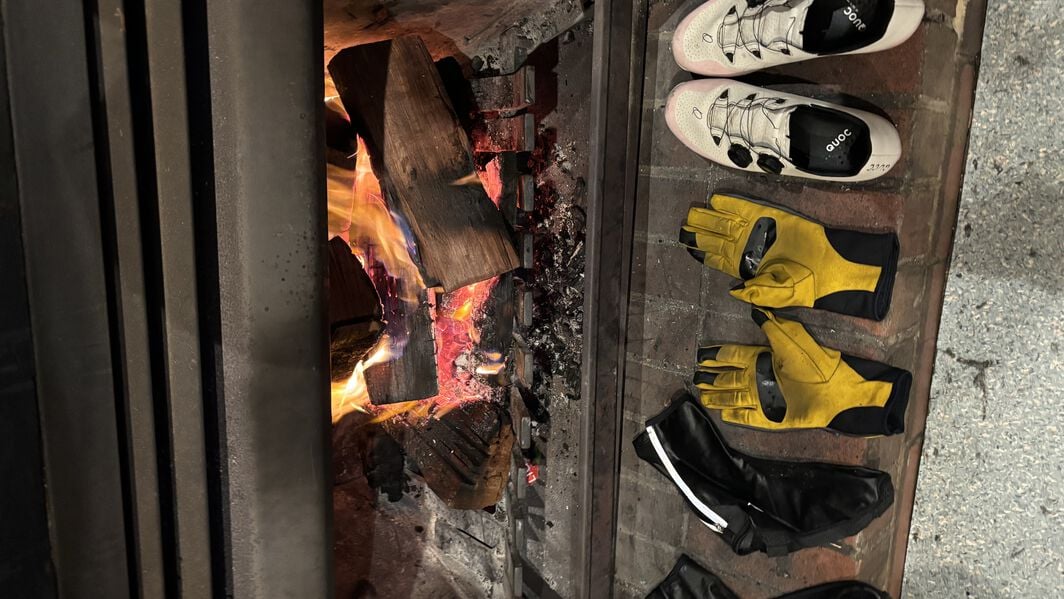
Before setting off, it’s important to cover a few final steps that make your trip safer and smoother. From gathering local advice to checking permits and exporting your route, these preparations ensure you’re ready for whatever the journey brings. A little extra planning now can save a lot of stress once you’re out on the trail.
Local advice and community feedback
The internet knows almost everything but the locals, more often than not, know best. That being said, don’t rely on that as your only source of information. Local bike shops can offer the most current closure and hazard information. Take time to join forums or social media groups and simply ask seasoned bikepackers for their honest feedback about your chosen route or general advice for beginners – most are happy to help.
Check permits and access
Check permits and access laws thoroughly as they vary significantly. Based on your country of citizenship, you may even need a visa for the country you’re heading to. It’s worth checking and making sure that you have all the necessary documentation along with you. Some areas also have seasonal restrictions and you should check if you can get out of the area of adventure just as easily as you get in.
Once your route is mapped and checked, export your finished route as a .gpx or .fit file - these can be loaded onto a GPS device or smartphone for easy navigation. Don't forget to share your route with a trusted friend or family member before setting off, just for added safety and peace of mind. If you’re out with a group of friends, make sure that each and every one has the route added to their devices.
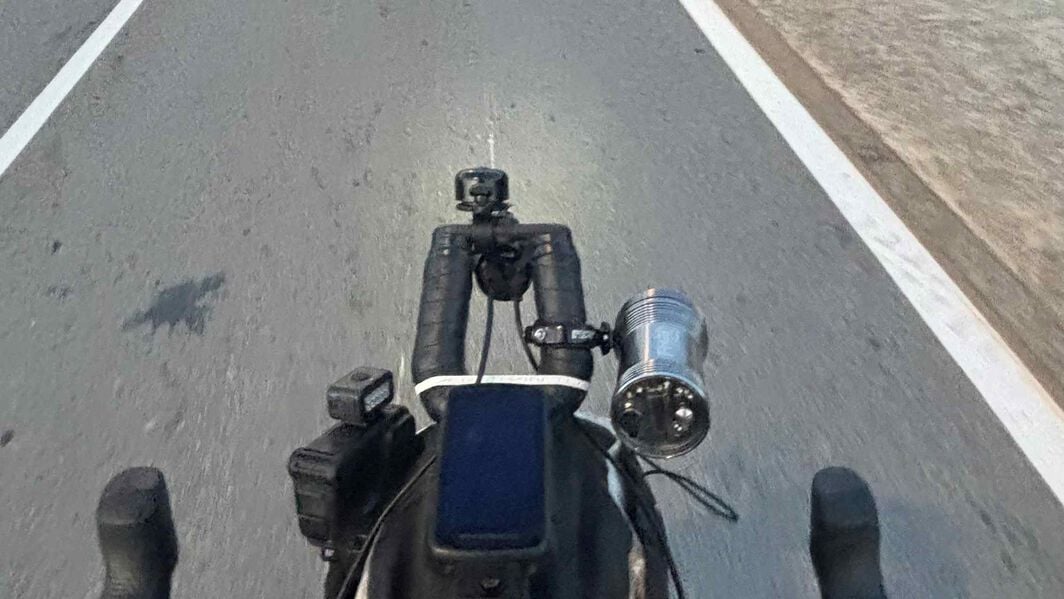
Reliable navigation is key to any successful bikepacking adventure. Choosing the right tools - whether a bike computer or smartphone - helps you stay on track in all conditions. Pair that with smart charging strategies, and you’ll never have to worry about running out of power mid-ride.
While smartphones are great for quicker on-the-go planning and tend to have a better interface, they suffer from battery drain and fragility. In 2018, during my round the world ride, I carried an iPhone SE with me and had to change my phone screen 4 times in different parts of the world due to water damage. Bike computers, on the other hand, are resilient to changing weather conditions and provide a superior battery life. You do compromise on the quality of the interface, although sometimes all you want to do is follow that line on the screen. Many use hybrid approaches with bike computers as primary navigation and smartphone backup with the route saved offline. Don’t rely on just one route-planning or navigation system. Try several and see which ones work most seamlessly for you.
Keep devices charged
On multi-day trips where electrical outlets are scarce, managing the battery in your devices is crucial. Some options for on-the-go charging include dynamo hubs, solar panels, and high-capacity battery packs. With a bike like Grizl CF 8 ESC w/ECLIPS, at least you won't have to worry about charging your lights. The all-new Grizl comes with a SON dynamo hub and Lupine front and rear lights, all internally connected via the Canyon Blackbox. There’s even a USB-C charging port on the bike that can charge your device when you’re not moving. The ECLIPS comes with only a few select Grizl models but this part-dynamo, part-power bank system is perfect for when you’re somewhere out in the wilderness.
The Grizl range also comes with Full Mounty handlebars giving you more positions to ride in, attach aero extensions, a cargo cage or a LOAD cockpit bag. This, combined with some high quality DT Swiss wheels, Schwalbe Overland tyres, 54mm of clearance to add bigger tyres if need be and a ton of mounting points on the frame makes it an everything-you-could-possibly-need adventure machine.
Schedule charging efficiently by planning stops at cafes, visitor centres, or other locations with electrical outlets during your route. If space allows, carry multiple charging cables to maximise charging opportunities during meal breaks. Where possible, conserve power by putting your phone on airplane mode, reducing screen brightness, and turning off unnecessary features like Bluetooth and cellular data when not needed.
Common mistakes in bikepacking
Even the most experienced riders slip up when planning or riding a bikepacking trip. From underestimating distances to overpacking or neglecting recovery, these mistakes can turn an adventure into a struggle. Knowing the most common pitfalls helps you prepare smarter, ride more comfortably, and enjoy the journey to the fullest.
Overestimating daily mileage
Your adventure doesn’t need to be a sufferfest. Build buffer time and have bail out options when plans prove ambitious. Identify your personal strengths and weaknesses relevant to riding and make sure that your daily mileage aligns with those.
Forgetting critical gear
Obviously, don’t carry your kitchen sink, but don’t leave any of the essentials behind either. This includes first aid supplies, emergency shelter, repair tools, and backup navigation. Cross check your list of essentials with someone else who may have been along your route previously.
Getting complacent about weather
You can’t outride a storm. Research historical weather patterns and recent forecasts for prominent places along your route. Weather will change quite quickly in the mountains, so beware of that. Build flexibility with alternative routes and clear risk criteria. By the time you’ve finished your bikepacking adventure, your inner weatherperson will be pretty sharp anyway, but don’t get too complacent.
Your next bikepacking adventure starts here
The route you plan before you’ve left is merely a guideline. On-the-go, if you hear about something new and exciting that’s possible with a short detour, then you should absolutely go for it. The idea is to have an amazing adventure out there, not to necessarily follow a certain route exactly as the website or app says.
Adventure-ready and raring to get out there? Check out Canyon's lineup of amazing bikes for bikepacking, each designed for loaded adventure riding with optimised geometry, tyre clearance, and mounting points. If you’re still choosing your ideal setup, explore our road bike, gravel bike, and MTB buying guides to find the perfect match for your next adventure. You can also use our bike finder tool and bike comparison tool to easily narrow down the perfect bike model with all the specs that matter for your adventures.
So, where will your next adventure take you? Planning a route that truly works for you means turning your wildest ideas into reality with the right balance of preparation and creativity. We’ve also put together a bikepacking on a budget guide to help you plan big rides without a big price tag.
Now get out there and explore the world.
Discover our Gravel Bikes
Did this article help?
Thank you for your feedback
-
 About the author
Vedangi Kulkarni
Discover the inspiring story of Vedangi Kulkarni, the youngest woman to cycle around the world solo and unsupported. This adventure-loving endurance athlete, public speaker, and writer is also a business owner and expedition manager. When she's not exploring the world, she's diving into philosophical and nature writing books or researching the Arctic.


